aNewDomain.net — Odds are you have lots of USB flash drives lying around. If any of them contain sensitive data, you need to encrypt that data. Here’s how to use BitLocker to encrypt your flash drive. Bitlocker To Go is built into Windows Vista Ultimate, Windows 7 Ultimate and Enterprise editions, Windows 8 and Windows 8.1.
Note: Home versions of Windows pre Windows 8 don’t include BitLocker To Go. For such systems I suggest you use the freeware utility Truecrypt which is solid and reliable. For this article I ‘m using Windows 8, but the process is virtually the same in the other versions of Windows.
How to Use BitLocker to Encrypt Flash Drives in Windows — Windows Vista and Higher
First plug in your USB flash drive.
After Windows recognizes it, go into Computer (or This PC in Windows 8.1) and highlight the drive.
Then, on the File Explorer Ribbon, click the Manage Tab and select Turn on BitLocker.
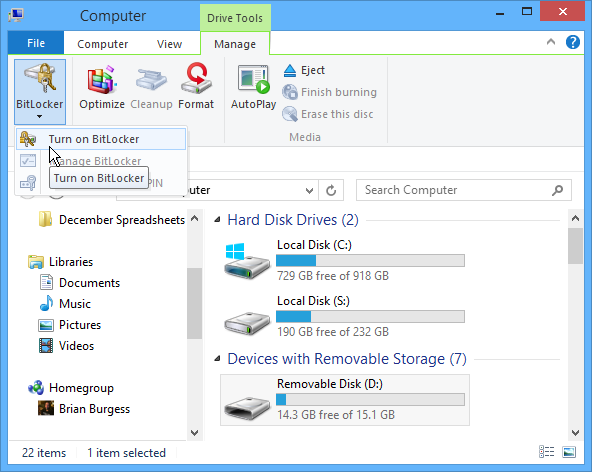
Alternatively, right-click the drive and, from the Context menu, select Turn on BitLocker. That way works best for Windows 7 or Vista.

The BitLocker tool will initialize the flash drive and start its straightforward wizard.
Select the option to Use a Password and enter it twice. Click Next.

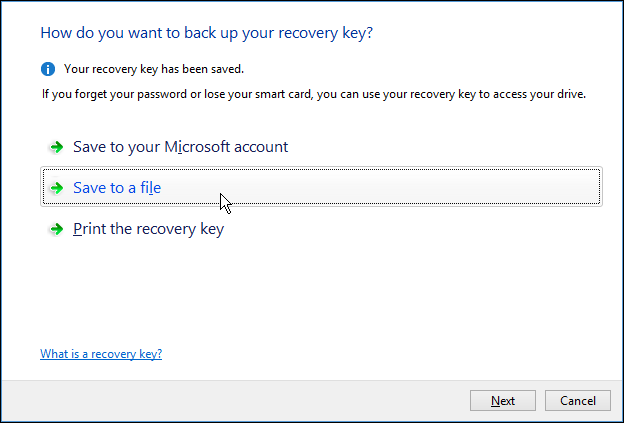
Next choose how you want to back up your recovery key. This is handy in case you forget your password and need access to your drive. You’ll get a long string of 48 characters — how you save it is up to you. Just make sure you store it in a secure location. If you’re less than organized about such things, go ahead and back it up using all three methods the system offers.
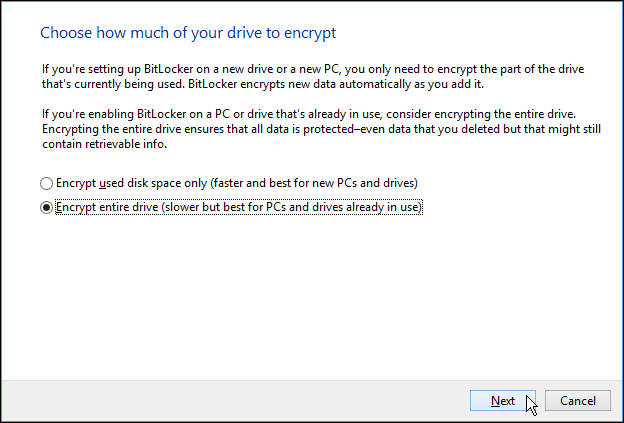
Now choose how much of the drive you want to encrypt. The first option – Encrypt Used Space Only – is faster. And it’s a good choice if you have a full drive or only use it for specific files.
The second option – Encrypt Entire Drive – is what I recommend, though it will take longer. Using this option ensures that even data you delete will be encrypted, too.
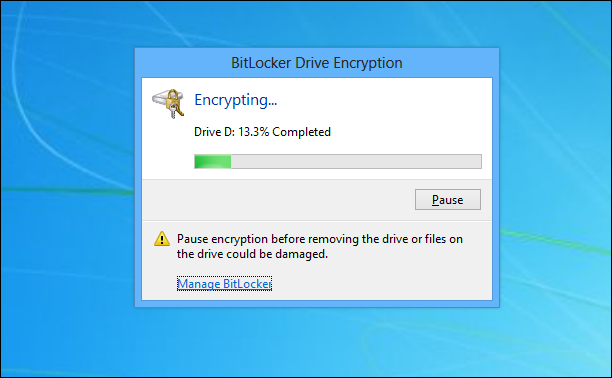
Now wait for Bit Locker To Go to encrypt your flash drive. The amount of time it takes will vary depending on the size of the drive and the amount of data on it.
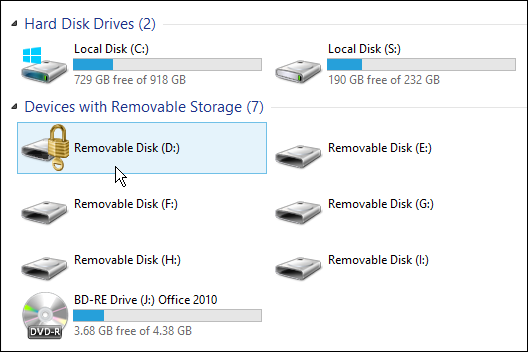
After the process is done, you’ll see a gold lock overlaid on the drive icon. This verifies the drive is protected with BitLocker encryption.
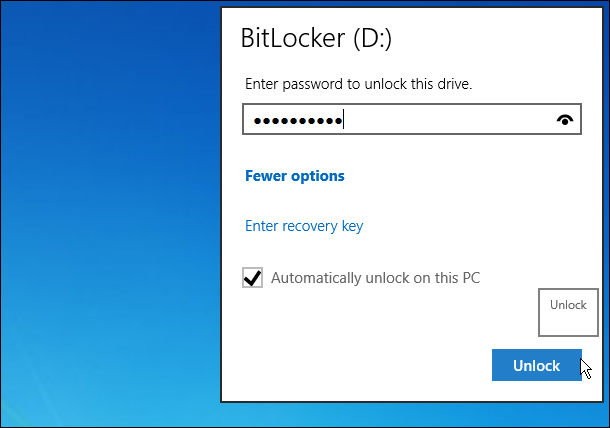
When you use the drive in the future the system will prompt you to type in your password to unlock the data on it. There’s also the option to automatically unlock it. Select this if you’re using your trusted home or work PC. If you’re on a shared or public computer, don’t enable it.
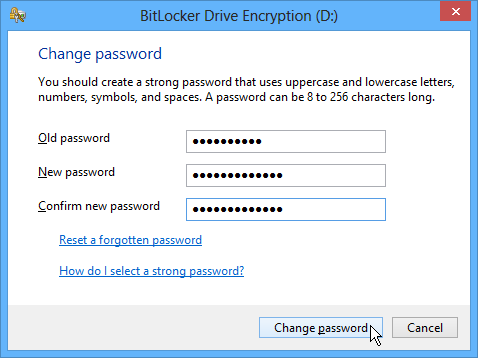
If you want to change the password at some point, just right click the drive and click Change BitLocker Password. Then just follow the on screen wizard to change it.
If you’re on the road a lot or just have a habit of losing small objects with important data, encrypting flash drives will help ensure your data is secure. This is just one step you can take to protect your tech life.
The recent news of NSA spying should remind everybody to rethink his or her computing and mobile security practices. Right now privacy is at a premium. And your data is all out there — free for the taking. But making your data less convenient to grab — as encryption does — is a step in the right direction. Convenience, after all, is the enemy of data privacy.
For aNewDomain.net, I’m Brian Burgess.





Excellent