aNewDomain — If I’m not outside snapping photos with my Nexus 6 or my Sony NEX-5T mirrorless, I’m sitting at my workstation editing all my shots. I don’t use any one photo editor exclusively because no editor is the “total package” for me.
But, just before the Adobe Creative Cloud Suite updated to version 2015, Adobe launched a new feature in Lightroom called “dehaze.” And boy, does the Adobe Lightroom dehaze work wonders in the editing process.
What Is Adobe Lightroom Dehaze?
When we shoot images, our camera lens and sensor has to battle with many atmospheric variables to give us a beautiful photo in return. As you know, it’s rarely a perfect shot. Adobe wanted to combat these variables with a new tool, which they dubbed “dehaze.”
The dehaze tool is “based on a physical model that tries to estimate the amount of light transmission and how it varies across the picture,” says Adobe. This is great for fighting the effects of fog, clouds or smoke.
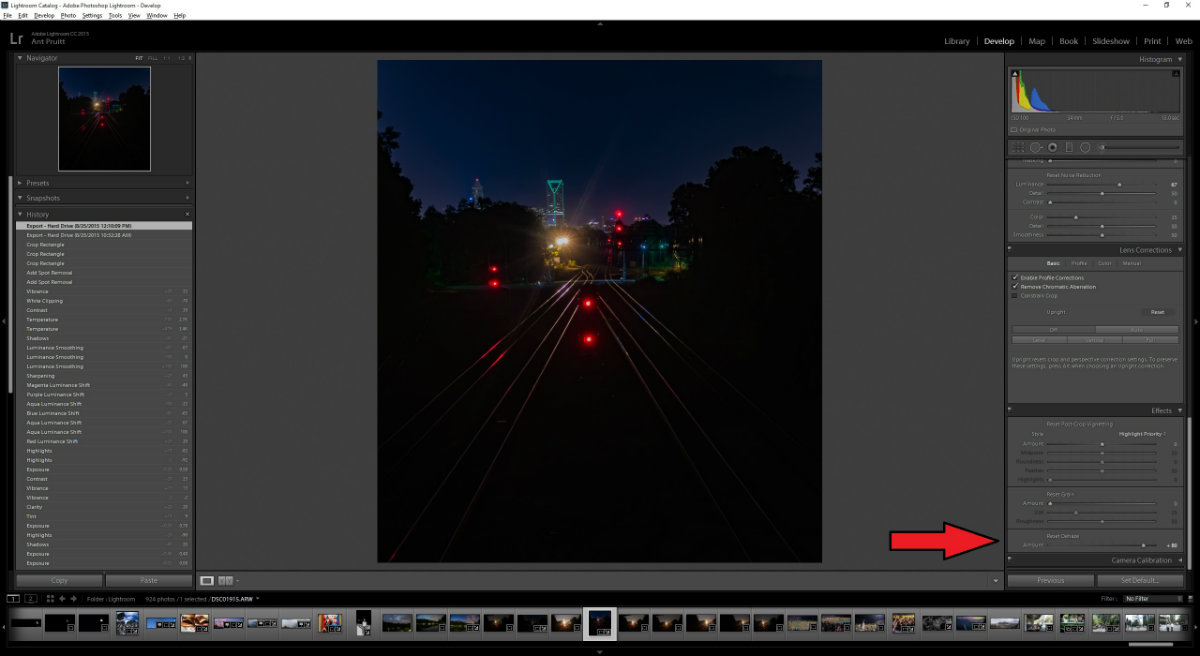
The beauty of this tool is that it’s super easy to use. It’s simply another slider inside the Lightroom application. Just select dehaze, and move the slider right or left. Sliding the option left will add more haze to your shot. Sliding to the right will decrease the haze. Here’s the option in the Lightroom interface (yes, it’s hard to see, but it’s a big layout):
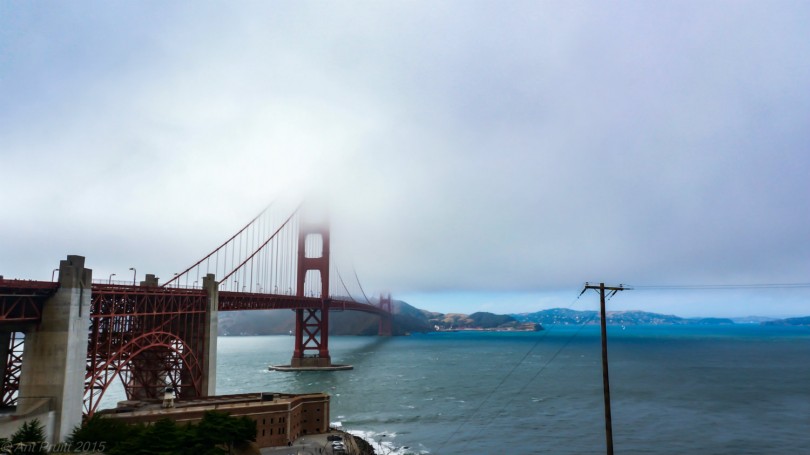
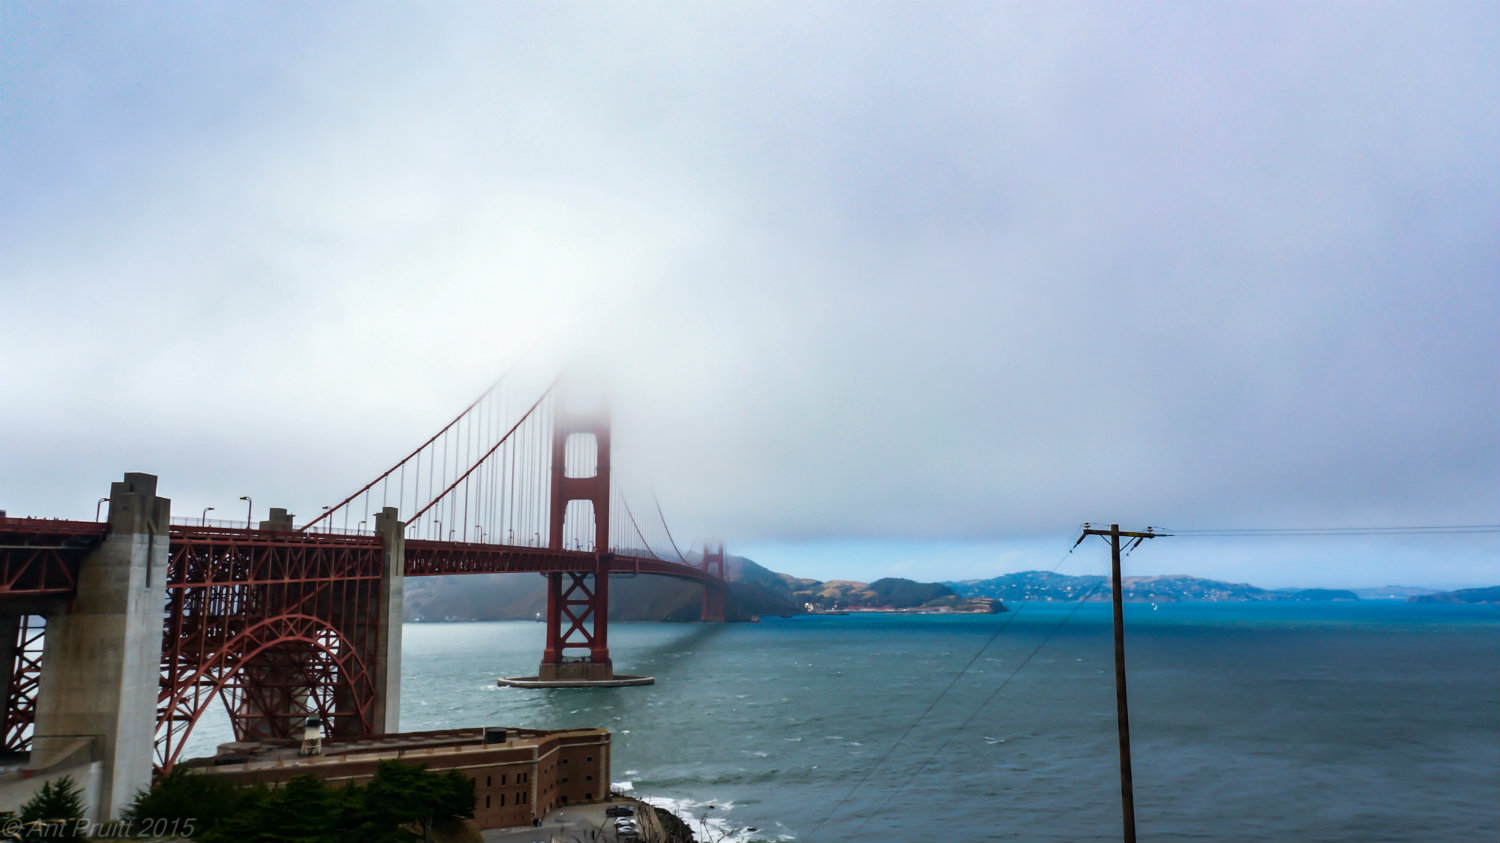
And below in the following two pics, find a perfect example of the dehazer at work. It’s my own photo. Most people know that San Francisco often has fickle days. Fog is very common in the Bay Area. This was my first opportunity to see the Golden Gate Bridge, so I had to capture it on camera — even if the elements of nature didn’t want to cooperate with me.
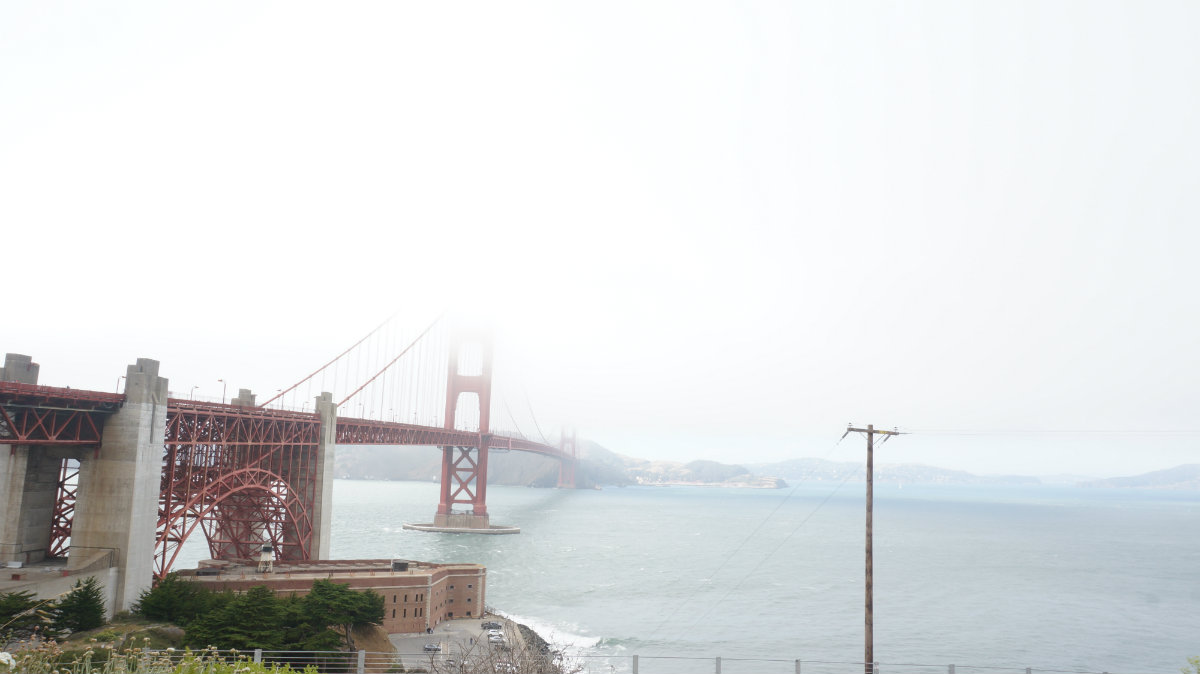
Above is the original image. Now, look below to see the dehazer in action. Notice the depth of color in the bridge and water. They’re much richer and well-saturated now, whereas they were pretty washed out before. In some cases, using the dehazer is all you’ll need to do to your photo for a finished product.
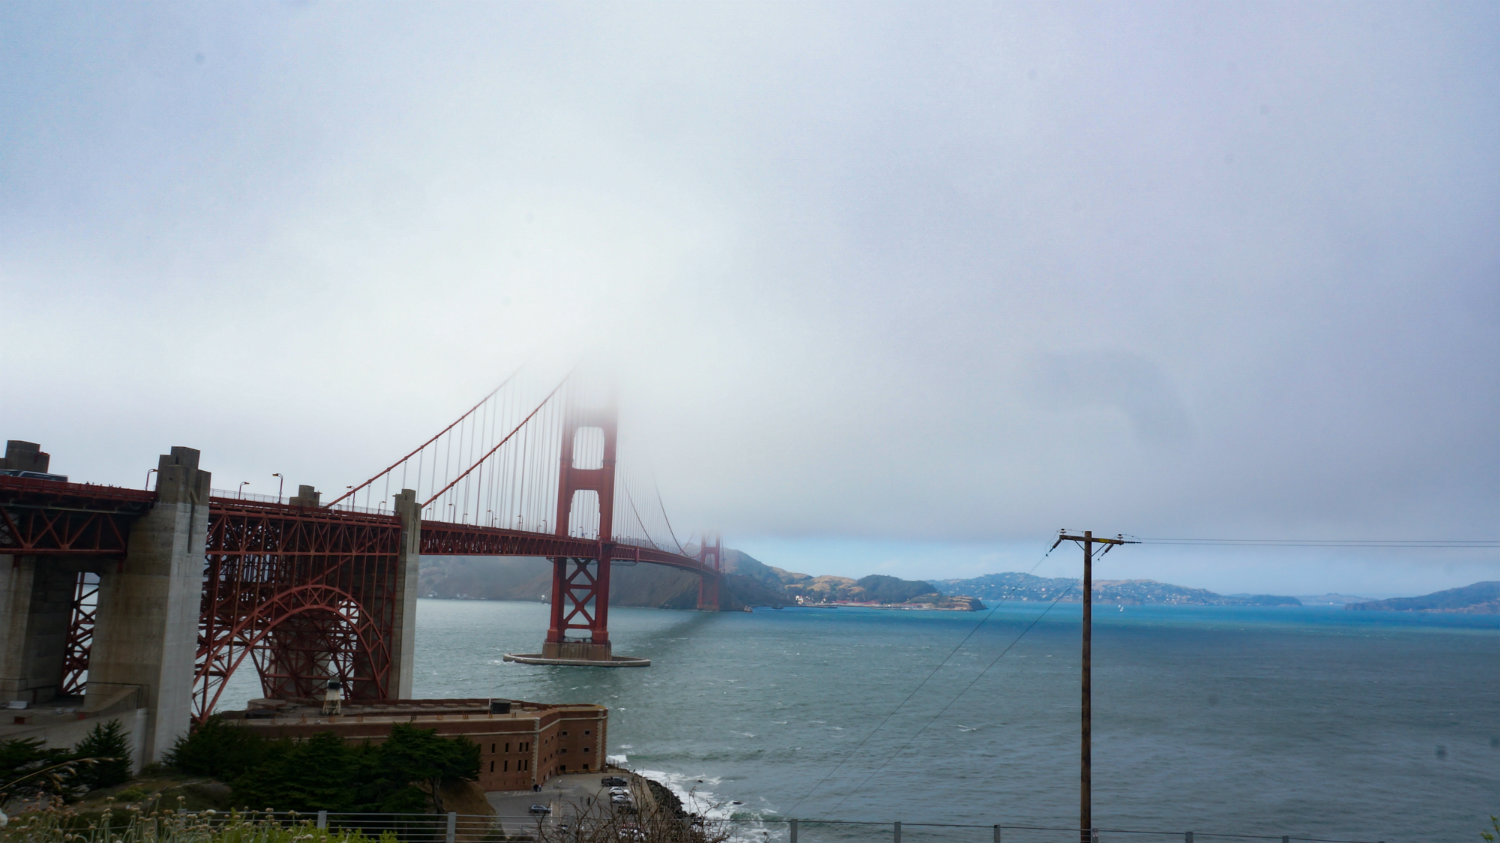
But, for me, that’s not true in this case.
There are some other issues with this photo. The alignment isn’t quite right. There is dirt on the camera’s sensor that should be cleaned. The clouds have a small amount of grain in them. When I took this shot I envisioned it differently than it turned out, so I decided to edit the photo further. Here’s the finished photo.
I’ve cropped, tilted and made the colors even bolder.
Be sure to check out the dehaze option in your Lightroom app. If you don’t have Lightroom, I suggest taking a look at the subscription service. It’s $10 per month for Lightroom and Photoshop through the Adobe Creative Cloud. That’s a couple cups of hip coffee for a host of high-power editing tools. I find Lightroom to be a worthy product for anyone serious about managing and processing great photos.
All Images: Ant Pruitt. All Rights Reserved.