
aNewDomain.net — If you have set up your Google Glass development environment and you don’t know what to do next, check out a new open source Glass Launcher project that lets you compile straight from the source code. Compiling Glass Launcher, developed by XDA forum member Justin Driggers, is an easy way to learn the basics of compiling an apk from source and pushing it to your Google Glass. Here’s how to compile Glass Launcher from source.
To get started, first you need to download and install Git.
1. Install Git
Git is a software version control system that gives developers the ability to keep track of multiple versions of code as their project changes over time. Git will allow you to not only download the Glass Launcher source code from the project’s GitHub page but also to stay updated to the latest available version of the code.
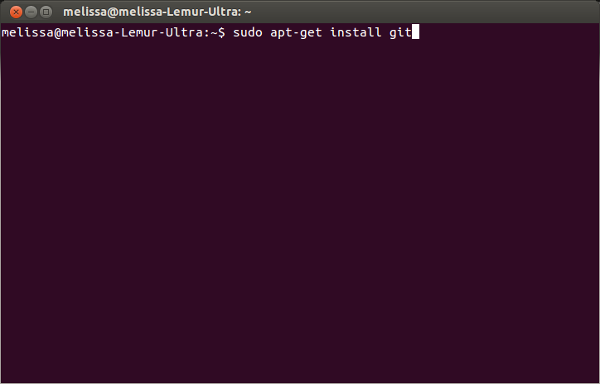
Open terminal and enter sudo apt-get install git to install Git on your system.
Once Git is installed, use terminal to go to the directory where you would like to download the source code for Glass Launcher. In that directory, enter git clone https://github.com/justindriggers/Glass-Launcher.git
Now you have the current version of the Glass Launcher source code.

2. Import the Glass Launcher project into Eclipse
Open Eclipse and click File >> Import and select “Existing Android Code Into Workspace” from the Android section and click Next.

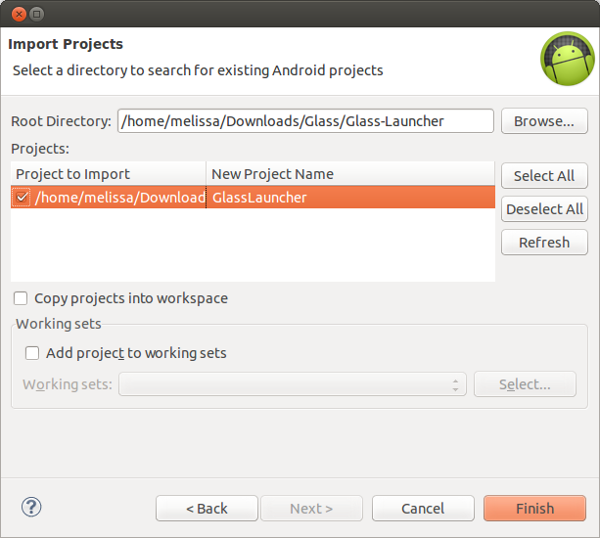
On the next page click Browse and select the Glass-Launcher folder that you downloaded via Git. Place a checkmark next to the GlassLauncher project and click Finish.
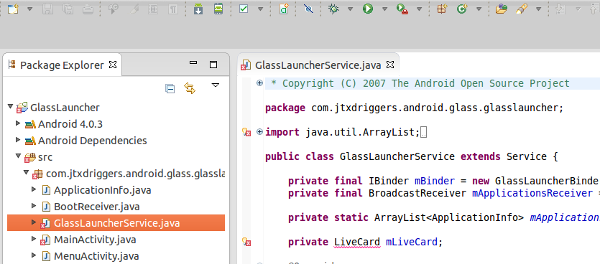
You will now see the GlassLauncher project in the Project Explorer pane. You will notice that the icon next to GlassLauncher has a small red “x”, which means that there’s a problem with our project.
3. Set the Android SDK version to the GDK
One of the main problems with the code is that Eclipse is not recognizing certain objects, such as LiveCard, which are unique to the GDK. To fix this, you need to configure the project to use the GDK when being compiled.
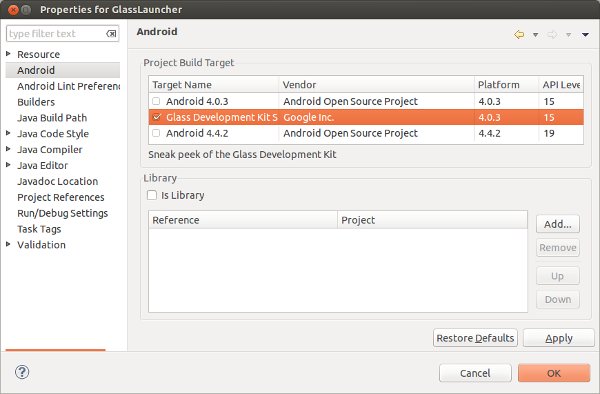
Right click on the GlassLauncher project in the Project Explorer pane and click Properties. On the Properties screen, click on Android. In the “Project Build Target” section, place a checkmark next to “Glass Development Kit Sneak Preview” and click OK.
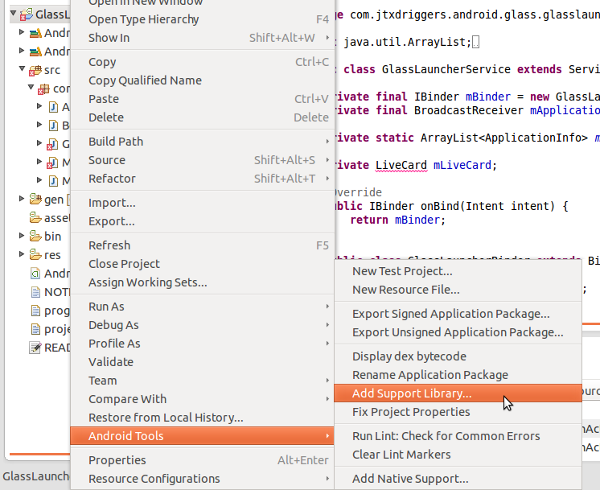
4. Add the Android Support Library
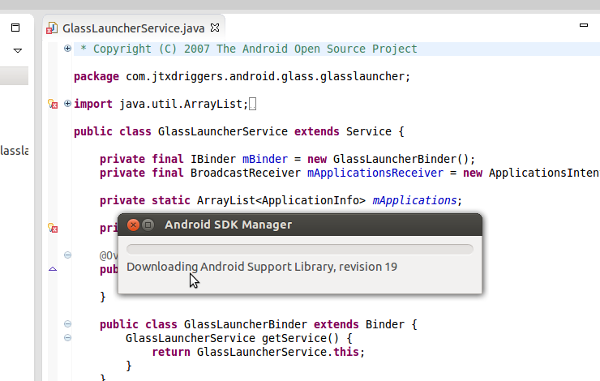
Next, you will need to add the latest version of the Android Support Library to the project. Right click on the GlassLauncher project in the Project Explorer pane, go to Android Tools and select Add Support Library. You may see the Android SDK Manager pop up and download the latest revision of the Android Support Library.
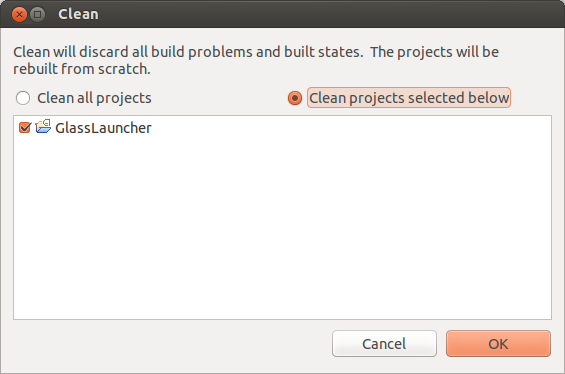
5. Clean the project
Now that everything has been fixed, you will need to do a clean of the project prior to compiling it. In Eclipse, click on the Project menu up at the top of the screen and select Clean. Click the radio button next to “Clean projects selected below”, place a checkmark next to “GlassLauncher” and click OK.
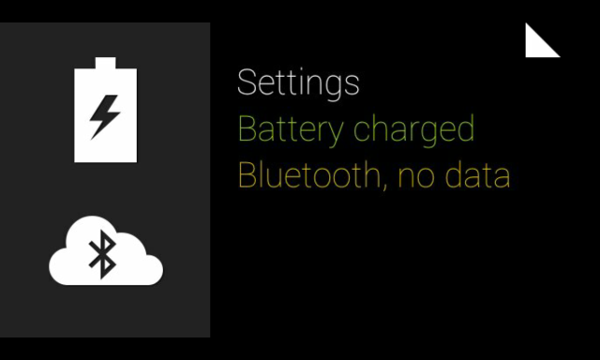
6. Enable debug mode on Glass
On Glass swipe to the left until you see Settings and open it.
Under Settings, swipe to the right until you get to Device info and open it.
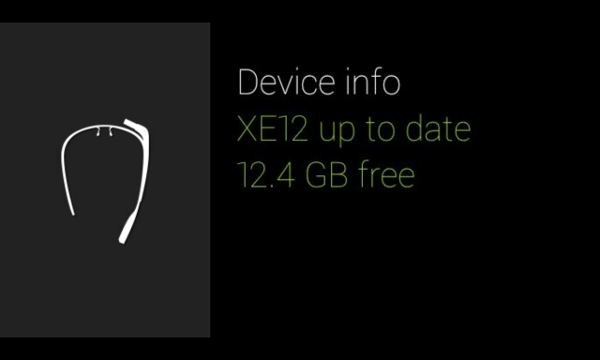
Under Device info, swipe to the right and tap to enable Debug mode.

7. Plug in Glass and compile GlassLauncher
Plug Glass into your computer. At this point you are ready to compile GlassLauncher. Right click on the GlassLauncher project, go to Run As and select Android Application.

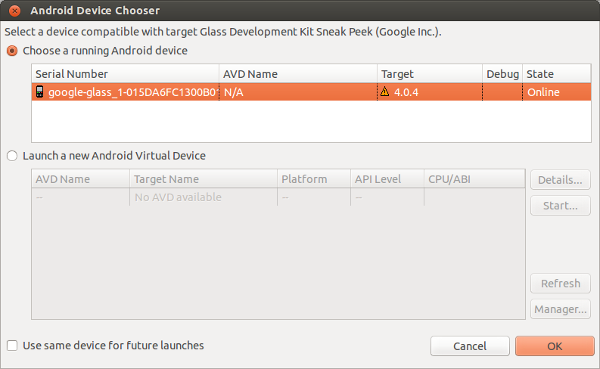
You should see your Glass listed as a compatible Android device. Highlight it and click OK.
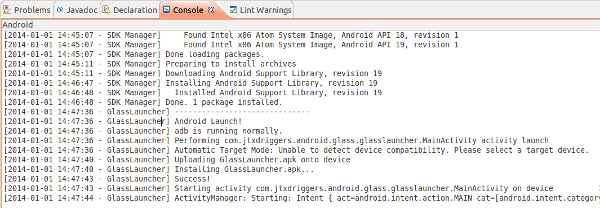
At this point you should see updates come streaming through the Console section at the bottom of Eclipse. If you see the following lines, that means that the launcher compiled successfully and was installed on your Glass.
[<timestamp> – GlassLauncher] Installing GlassLauncher.apk…
[<timestamp> – GlassLauncher] Success!
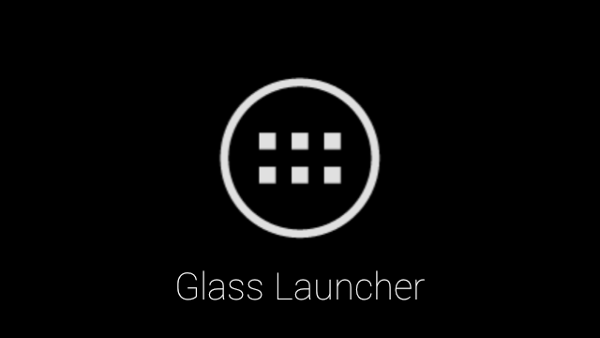
8. Play around with GlassLauncher!
At this point GlassLauncher is mostly experimental. Some users on XDA have tested VLC, Google Play Music, Netflix and other apps using GlassLauncher. At the very least, compiling GlassLauncher will make you more familiar with the apk compiling process and give you the opportunity to explore the inner workings of a Glass application.


9. Optional: Uninstall
Since GlassLauncher is still in it’s infancy, it is likely that you will want to remove an old version of the app. In order to do that plug Glass into your computer, open Terminal and issue the following command from your Android SDK “platform-tools” folder: ./adb uninstall com.jtxdriggers.android.glass.glasslauncher
You should see the word “Success” displayed. You’re done!

For aNewDomain.net, I’m Eric Finkenbiner.
Based in Rangoon, Burma, Eric Finkenbiner is a foreign service IT specialist for the U.S. Department of State — and a senior contributor on the deeptech and rooting beat at aNewDomain.net.


[…] aNewDomain.net – The Google Glass Development Kit, an add-on to the Android SDK, lets developers write apps that run directly on Glass. In the first part of his Google Glass series, our tech editor Eric Finkenbiner shows you how to set up your Google Glass development environment. In part two, find out how to test out the Google Glass Development kit with a real world project. Check out his How To gallery, Google Glass: How To Compile Glass Launcher from Source. […]
Truly excellent. Thanks for this Eric Finkenbiner!
Awesome read, now if I only had 1500 bucks lol.
Thank you so much. I really couldn’t have done it without this article. If anyone sees any buffer overflow images, make sure all targets refer to “15” as the Android version in the xml. Also, update your SDK Build Tools in your manager. That’s critical.
buffer overflow errors*