aNewDomain.net — If you use your Apple iPhone and iPad for a lot of daily work, you need to secure it. You need to lock it down. Apple iOS 7 has decent security and privacy features that will help you protect your privacy. Here’s how to secure your Apple iPad and iPhone and use other security features now available in Apple iOS 7.
How To Create a Lock Screen Passcode
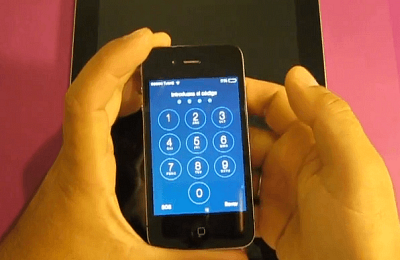
One of the first things you need to do is make sure people can’t just grab your device and start messing around with it. iOS has always allowed you to create a lock screen passcode – either a simple four digit PIN, or a longer complex passcode. The option is there when you’re first setting up your device, but if you missed that option or want to change it you can.
Go to Settings > General > Passcode Lock > Turn Passcode On.
Then you’ll have an option to create a four-digit PIN twice.
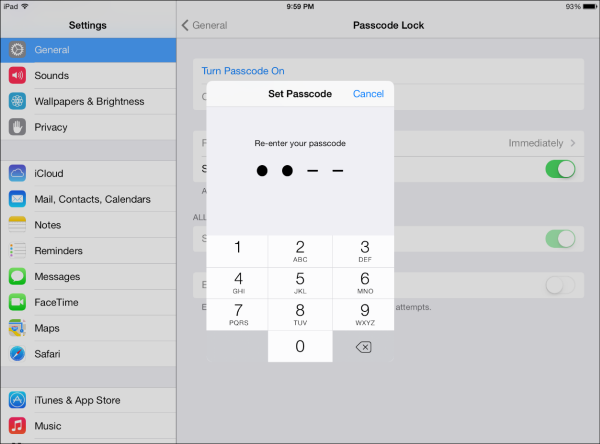
But, if you want something even more secure, you can create a long passphrase. Turn off the Simple Passcode feature.
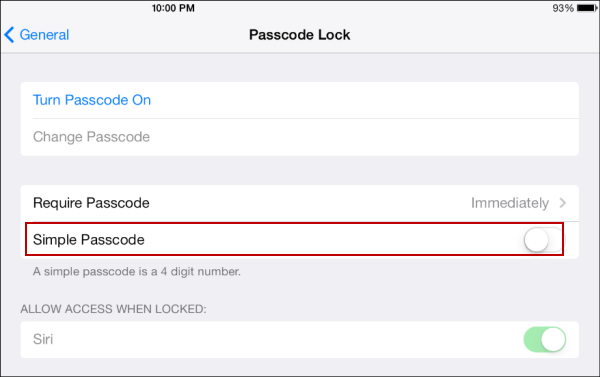
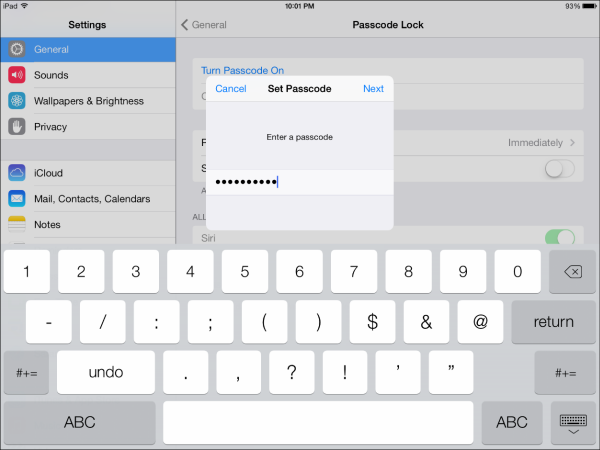
This brings up the full keyboard and allows you to type in multiple characters, numbers, and special characters. This is a more-secure solution but can be annoying to type in each time you access your device.
Disable Control Center and Notifications on the Lock Screen
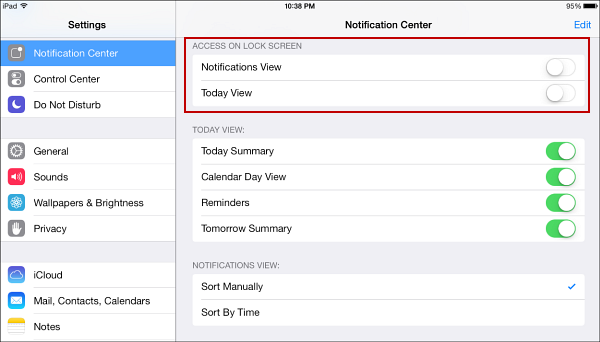
iOS 7 has made the device easier to use by allowing you to access Control Center and Notifications on the Lock Screen without logging in first.
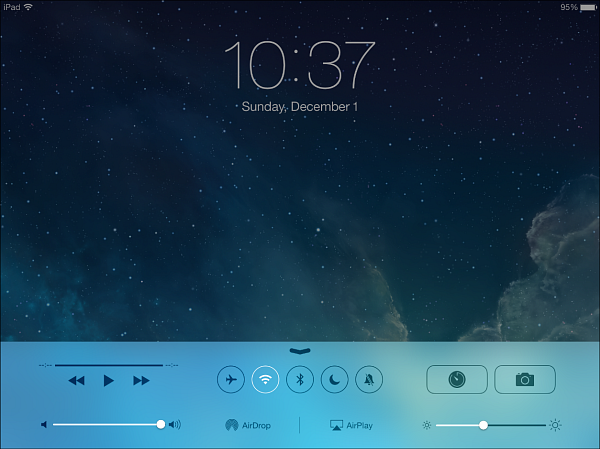
But you might not want people seeing what you have going on. Go to Settings > Notification Center and turn off both Notifications View and Today View.
Manage Frequent Locations
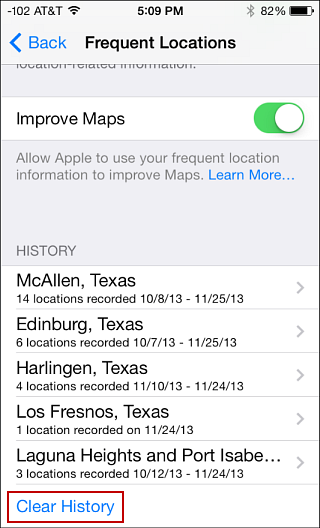
Most apps today rely on location tracking. But having so much location data out there is a determent to usage. Sometimes you might want to clear Request History Map locations. To clear out your history, go to Settings > Privacy > Location Services > System Services > Frequent Locations. Then scroll down and tap Clear History.
If you don’t want a record kept at all, just turn the feature off.
Block Unwanted Calls and Texts on iPhone
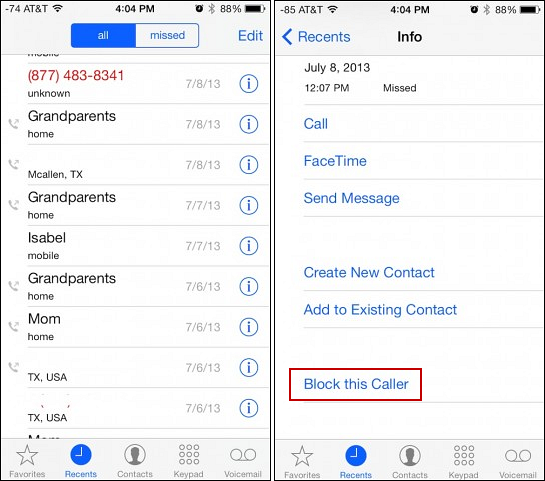
This is a new feature in iOS 7 that lets you easily block annoying calls and texts from your “ex”s and bill collectors. Go to your call history and scroll to find the number you want to block and select it. Then scroll down further and tap the Block this Caller option.
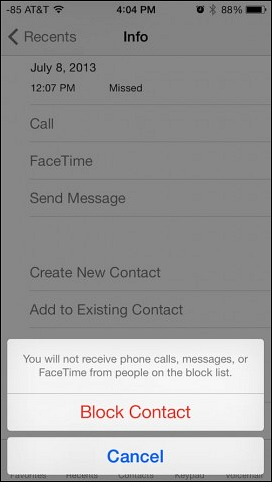
Then you’ll be prompted to verify that you want to Block Contact or Cancel.
Enable Do Not Track (DNT) in Safari and Block Cookies
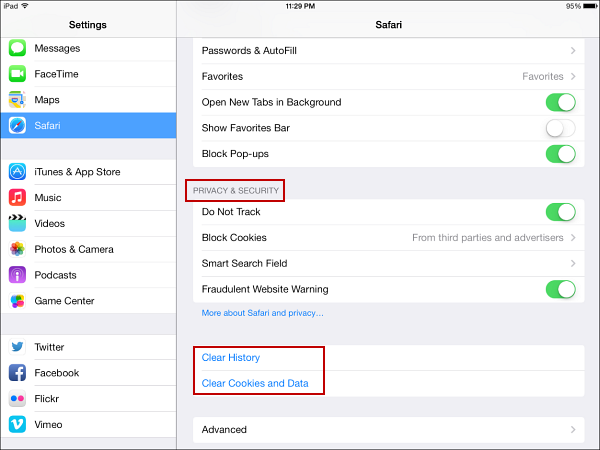
Just like keeping your web browsing private on a computer, you’ll want to increase security while using Safari in iOS 7. The DNT feature relies on voluntary cooperation of trackers, but every layer of security you can add is a good thing. For more on setting up the Do Not Track features in other browsers, check out this comprehensive article by Ron White. Go to Settings > Safari and scroll down to Privacy & Security.
Turn on Do Not Track, and make sure Block Cookies is set to From third parties and advertisers, or you can go as far as blocking them always. In this section you can also clear browsing history and cookies.
Enable 2-Step Verification
While 2-Step Verification can be annoying at first, it definitely creates a more-secure device — including protecting your Apple account as a whole. To learn more about 2-Step Verification (or Two Factor Authentication as it’s sometimes called), check out this article on groovyPost. It explains what 2-Step Verification is, and includes a round up of using it on Google services.
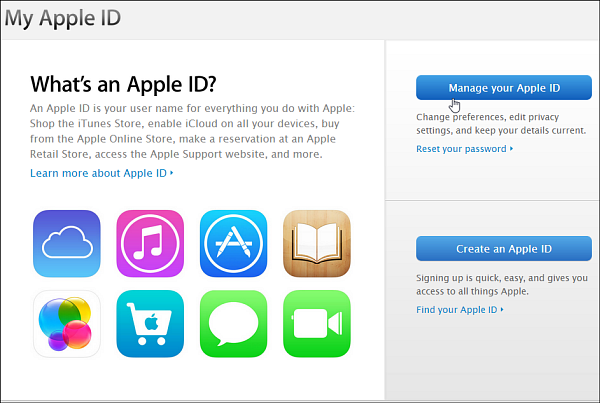
To enable it, go to the My Apple ID page and click the Manage your Apple ID button. Then you’ll be prompted to type in your current Apple ID credentials.
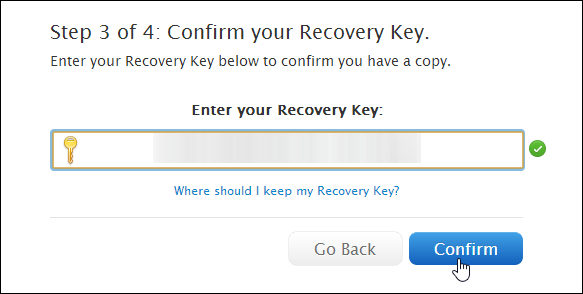
After that it’s a straight-forward process following the onscreen instructions. Make sure to read the Important things to remember screen and definitely make sure to print out your Recovery Key and keep it someplace safe.
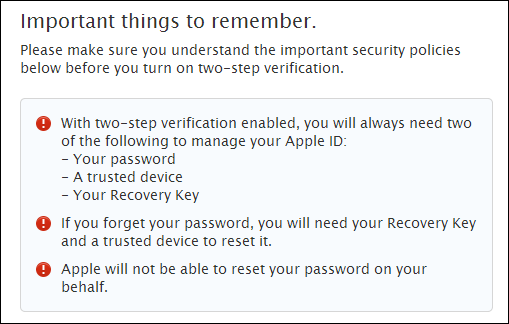
If you ever forget your Apple ID password, you’ll need the Recovery key.
Bonus iOS 7 Tip: View a Link’s URL before Tapping it
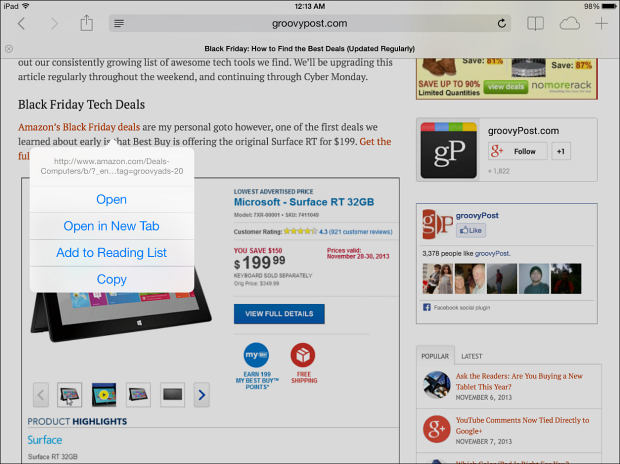
While reading articles online, there always several links to other content. Sometimes you might want to double check where a link goes. To do that, press and hold the link. That will pop up a menu that shows the link’s complete URL. You also will have four options: Open, Open in New Tab, Add to Reading List, or Copy.
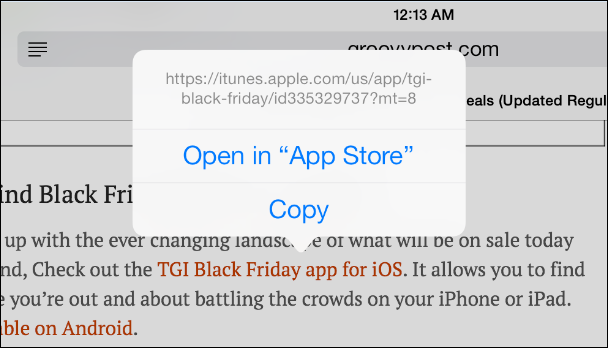
If a link is to an iOS app or iTunes content, you can choose to open it directly in the store on your device.
These are just a few steps you can take to keep your new iOS 7 iPhone or iPad secure and protect your privacy. They are essential and I recommend using them regularly for best results.
For aNewDomain.net, I’m Brian Burgess.
Based in Pelican Rapids, MN, Brian Burgess led the relaunch of BYTE with Gina Smith, co-founded aNewDomain.net with Gina, John C. Dvorak and Jerry Pournelle in 2011, and serves as the editor-in-chief of GroovyPost.com. He is the How To gallery captain here at aNewDomain.net. Email him at Brian@aNewDomain.net or Brian@Groovypost.com and find him on Google + and on Twitter as @mysticgeek.
All screenshot images: Brian Burgess




simple, useful stuff.
-RAP, II
[…] you just fired up your new Apple iOS 7-based Apple iPhone or iPad, you’ll want to make sure that your device is secure. You also want peace of mind that comes with knowing that your web browsing in Safariis protected. […]